Installing the IR-LOCK Filter
Follow the steps below to install the filter. You may want to ask a friend to assist you with the installation. You can definitely install the filter by yourself, but it is very helpful to have a helping hand.
AVOID touching the surface of the filter. It It will leave a fingerprint. The filter surface does not have to be in perfect condition to perform IR-tracking, but cleaner is always better.
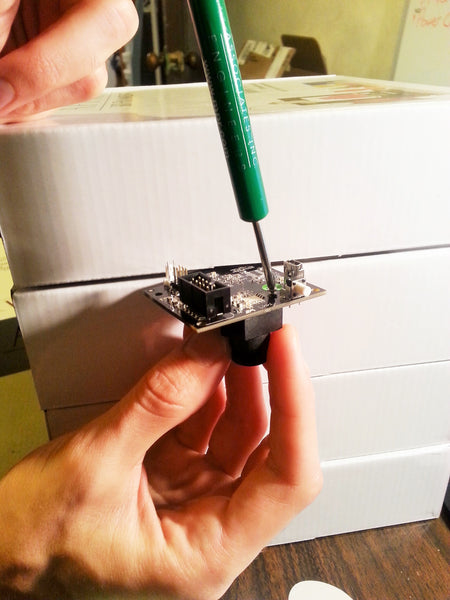
[1] Remove the lens mount by unscrewing the two screws on the back side of the Pixy. As you unscrew the second screw, make sure that you hold the lens mount in place. Otherwise, it may contact the camera sensor, and potentially damage it. When the second screw is unscrewed, simply pull the lens mount away from the Pixy. This will expose the camera sensor.

[2] Place the filter on top of the lens mount as shown in the picture below.

[3] Install the filter + lens mount: This is the most challenging part of the installation. It is very helpful to find a way to secure the Pixy in place (as shown in the pictures), or to have an extra set of hands line everything up while you screw in the first screw. Once you get the first screw threaded in, the second screw is easy to manage. After the lens mount is installed, remove the default Pixy lens (by rotating it counter-clockwise), and replace it with an IR lens.
[4] Continue with the IR-LOCK Pixy Instructions